In this step-by-step tutorial, let’s look at how to install OBS Studio on Windows, Mac, and Ubuntu.
If you have ever felt the need for a Screen Recording or Live Streaming software that gives you absolute flexibility without compromising quality, then, OBS Studio is one of the best tools for the job, and it works seamlessly on Windows, Linux, and macOS.
OBS Studio can be used for Live Video Streaming and Recording and features real-time Audio Capturing and Mixing. It also allows us to filter the audio and reduce overall noise, amongst a host of amazing features!
In this article, let’s learn how to install it on Windows, Mac, and Ubuntu. Let’s go.
Table of Contents
How to install OBS Studio on Windows
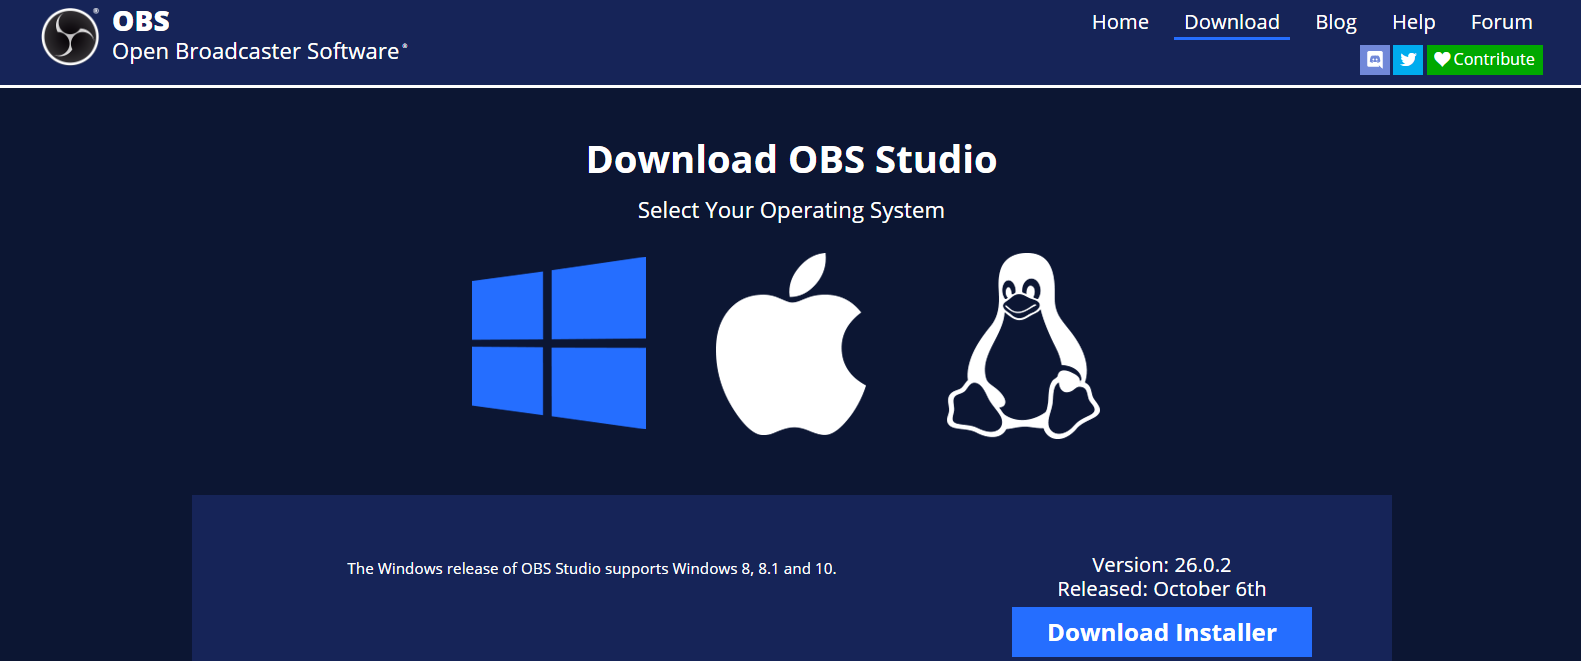
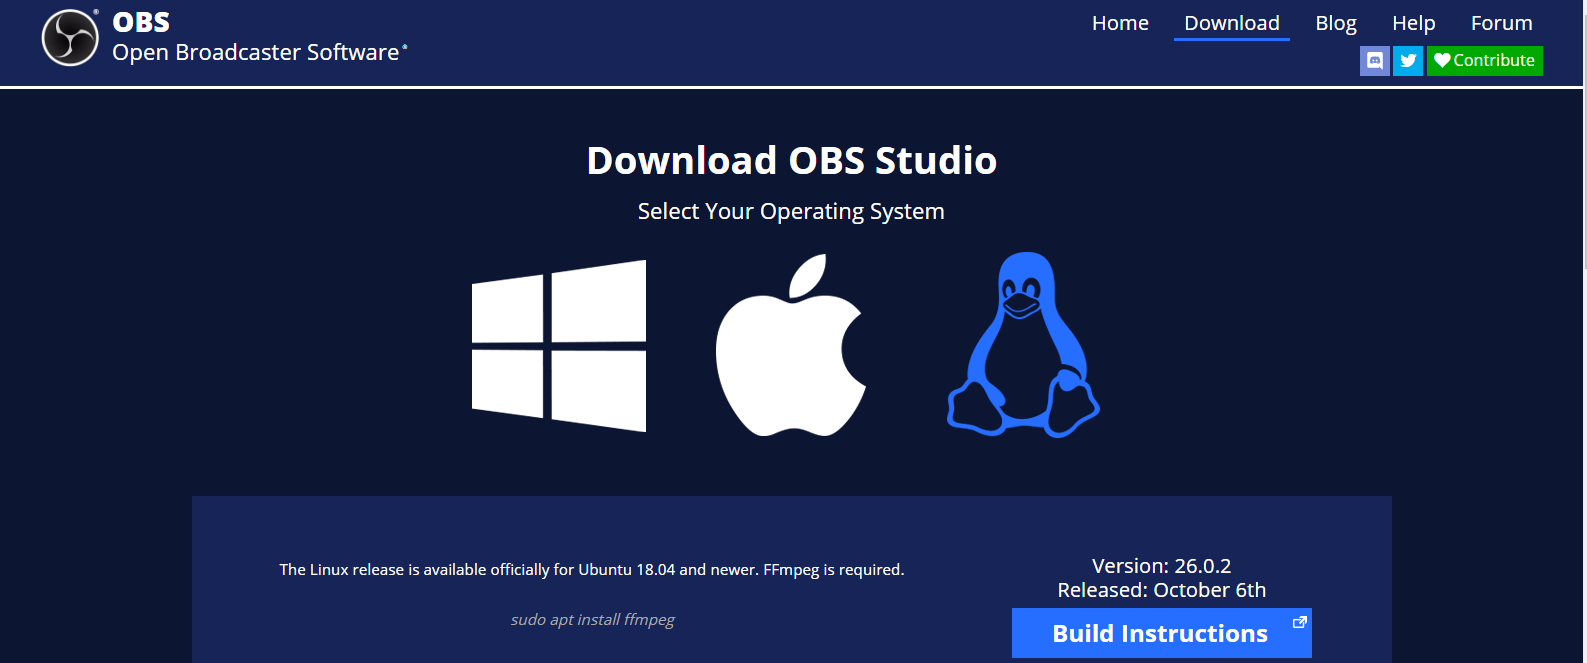
OBS Studio can be downloaded for free from the OBS Project homepage.
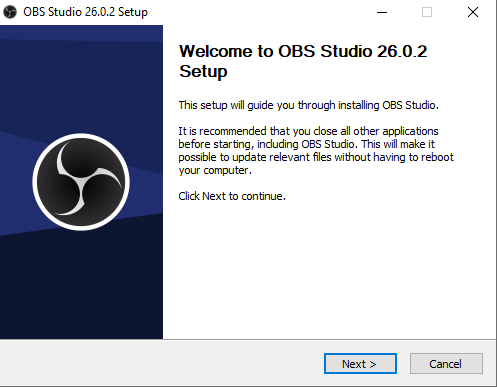
After you download the OBS Studio Installer, go to the download folder, and open the file to begin the Setup process.
Click On the Next button to proceed further. There you need to select an installation directory.
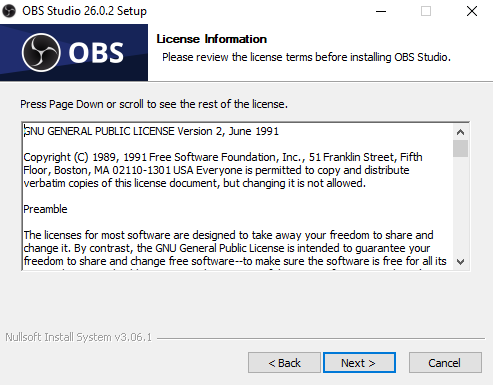
This is the License Agreement and you have to accept the policies regarding this software to use it, you have to press the “I Agree” button to proceed.
Next, you need to select the directory in which the OBS Studio is to be installed. It will be installed in the C:/Program Files/obs-studio directory by default, you can change it as required.
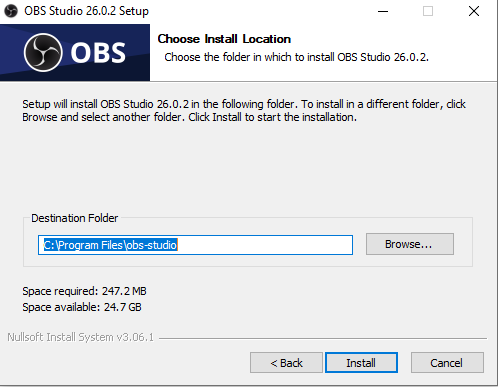
Make sure to install it in the correct directory (of your choice).
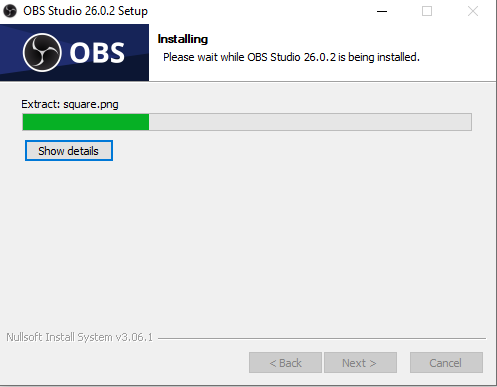
The installation will now begin and after it is complete, you can launch OBS Studio.

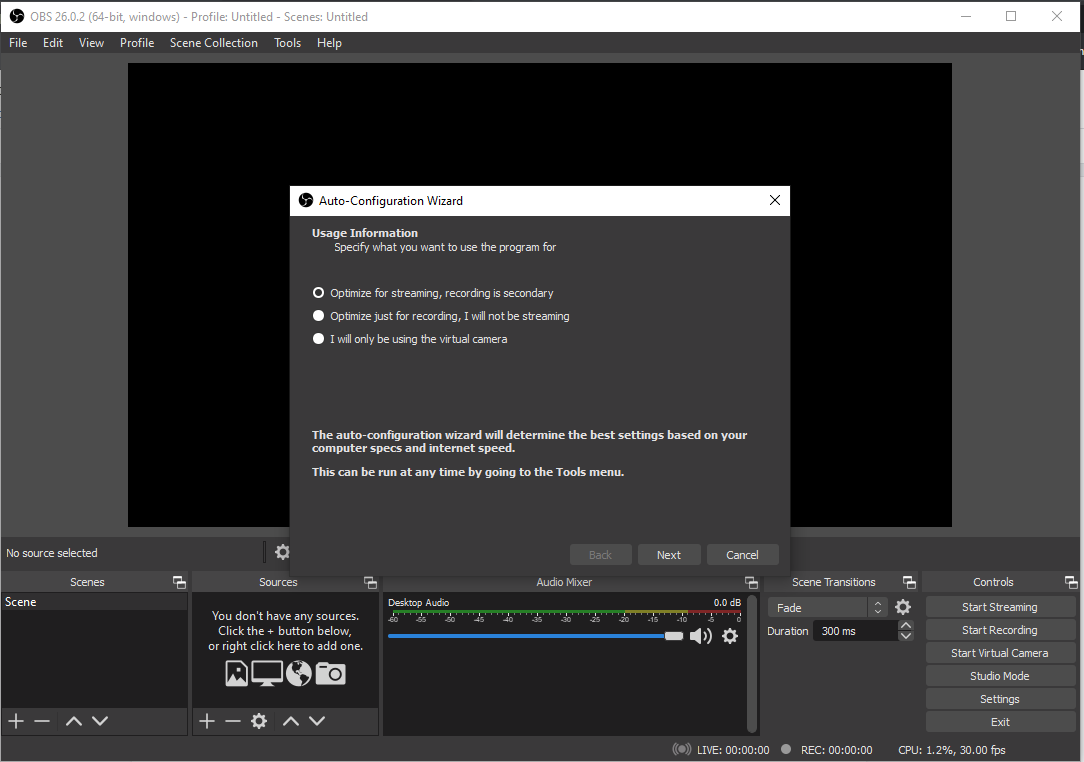
This is the first view of OBS Studio after installation. As you can see it provides several options and complete control. The Auto-Configuration Wizard opens automatically when we open it the first time, here we can optimize OBS Studio for specialized purposes.
Installing OBS On Linux (Ubuntu)
Now we are going to install in Linux and specifically, in Ubuntu 18.04.
Let’s open the terminal in Ubuntu by pressing CTRL + Alt + t or by selecting the default Terminal application.
First, you need to install FFmpeg, which is an open-source software containing various files and libraries which process audio and video files.
To install FFmpeg simply type this code in Terminal.
sudo apt install ffmpegIt may ask for the user’s password because of the sudo command required to install OBS Studio. You need to enter your password and the installation will begin.
After installing FFmpeg, we can install OBS Studio. Type these commands in the terminal one by one and wait for the installation to process.
sudo add-apt-repository ppa:obsproject/obs-studio
sudo apt update
sudo apt install obs-studio
It may take some time to download and install the software, after processing you can open the OBS Studio.
Now you can check for the OBS Studio in the application menu and if you did everything properly you’ll find the OBS Studio application there.
Installing OBS Studio in MacOS
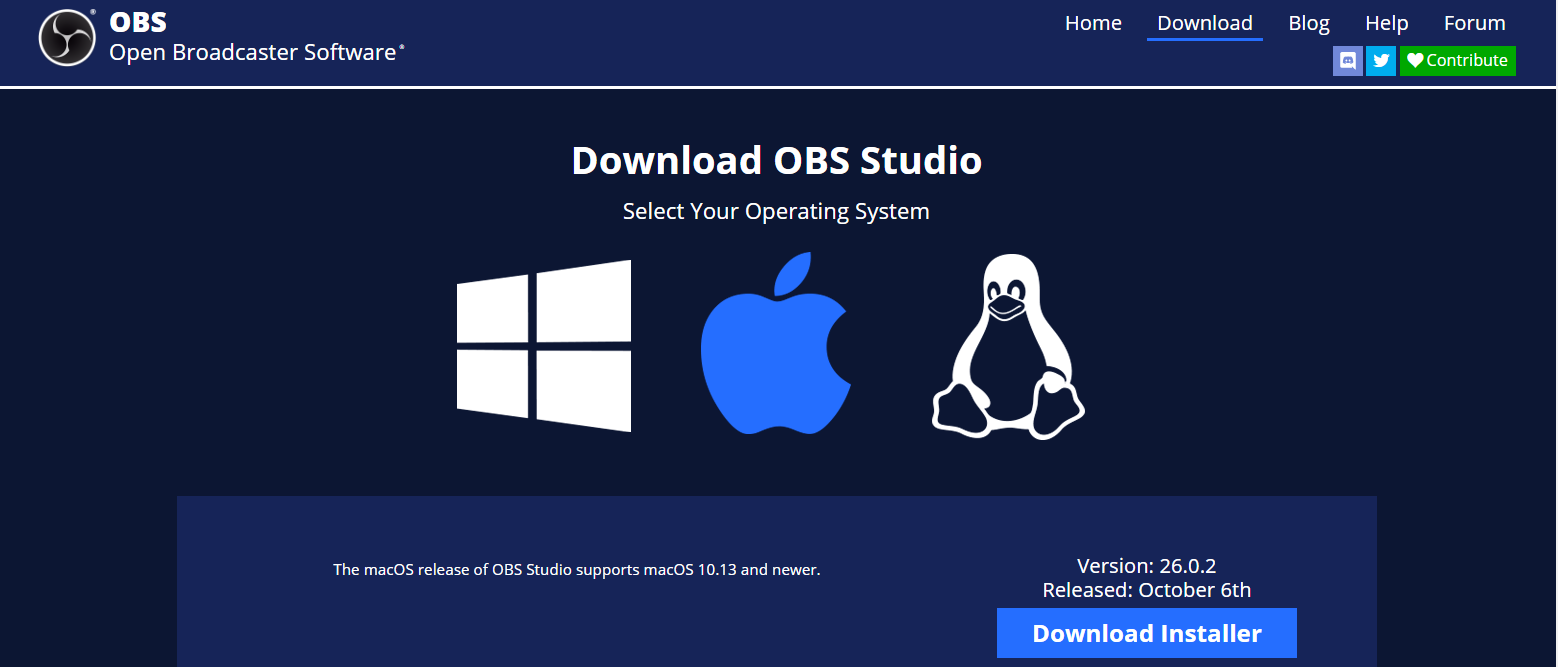
We need to download the OBS Studio from OBS Project to install in MacOS.
By default the software will be download in the default “downloads” folder, you just need to open the installer and proceed.
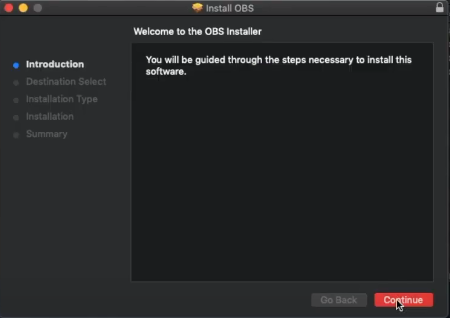
Press the “Continue” button to proceed further.
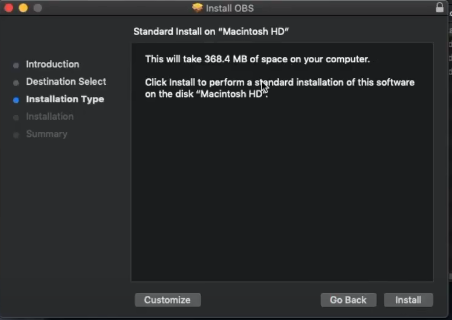
This will indicate the amount of storage it will take on your Computer, where you need to click on the “install” button to initiate the process.
It will also ask for the Password just after pressing the button, you need to enter the password to Continue.
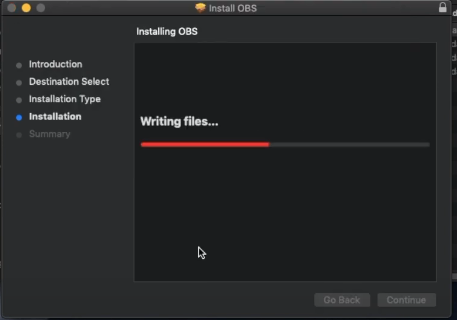
Here the installation started and will take just a couple of minutes.
After the installation, OBS Studio will be ready to use in the Application Menu.
Features of OBS Studio
As we discussed above OBS supports a wide range of platforms such as Windows, Linux, and Mac.
- It supports around 39 different languages and it can be used to broadcast live on Facebook, Twitch, Youtube, Twitch, and a lot more other platforms.
- It is also very user-friendly and easy to use, customizable such as fixing the frame rate, bit-rate per second, and many factors. When it comes to streaming games or addressing people on live platforms, OBS Studio may be one of the best choices.
- OBS also works flawlessly with multiple sources and it can be tuned/set to broadcast them along with such as adding a logo or maintaining a theme, etc.
Use OBS Studio for Screen Recording
Finally, before we end this tutorial, please click here for a tutorial on setting up OBS Studio for screen recording. In a later article, we’ll talk about how to use OBS Studio to stream to Facebook, Twitch, YouTube, and much more!
Until next time, take care and keep visiting OTTVerse.com

Krishna Rao Vijayanagar
Krishna Rao Vijayanagar, Ph.D., is the Editor-in-Chief of OTTVerse, a news portal covering tech and business news in the OTT industry.
With extensive experience in video encoding, streaming, analytics, monetization, end-to-end streaming, and more, Krishna has held multiple leadership roles in R&D, Engineering, and Product at companies such as Harmonic Inc., MediaMelon, Airtel Digital, and Visionular Inc.. Krishna has published numerous articles and research papers and speaks at industry events to share his insights and perspectives on the fundamentals and the future of OTT streaming.
Pingback: Live Streaming and Recording Zoom With OBS Studio Simplified - OTTVerse
Pingback: LiveStream OBS Studio to YouTube in 5 Steps - OTTVerse
Pingback: Livestream OBS Studio to Facebook Live in 5 Easy Steps - OTTVerse
Pingback: Livestream to Twitch using OBS Studio in 4 Easy Steps - OTTVerse